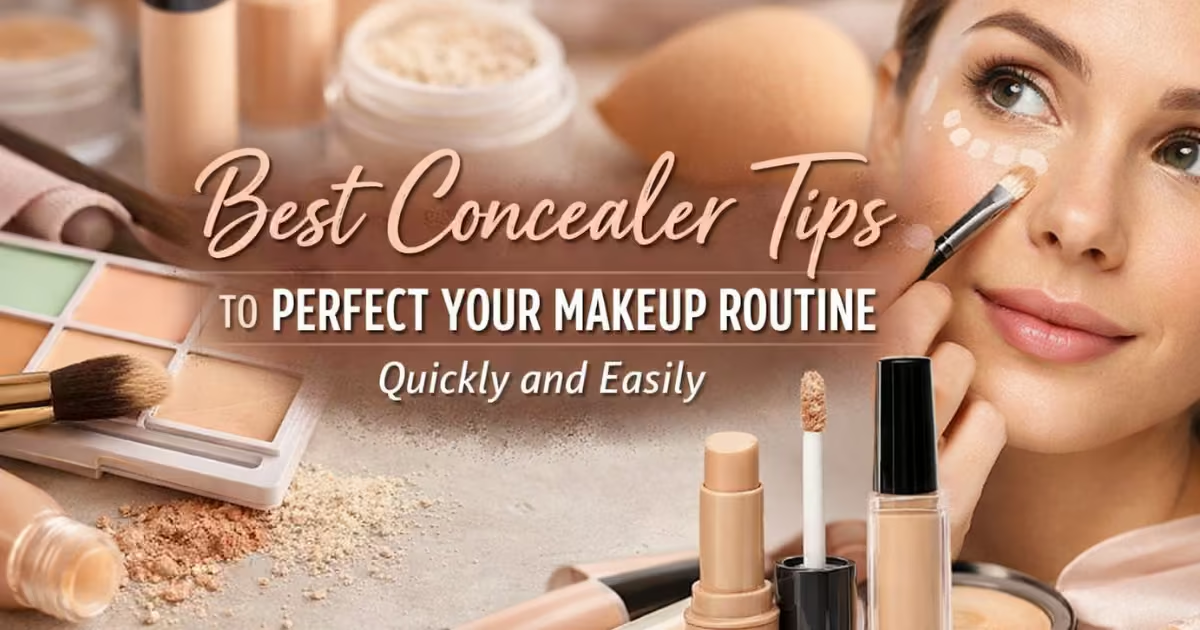
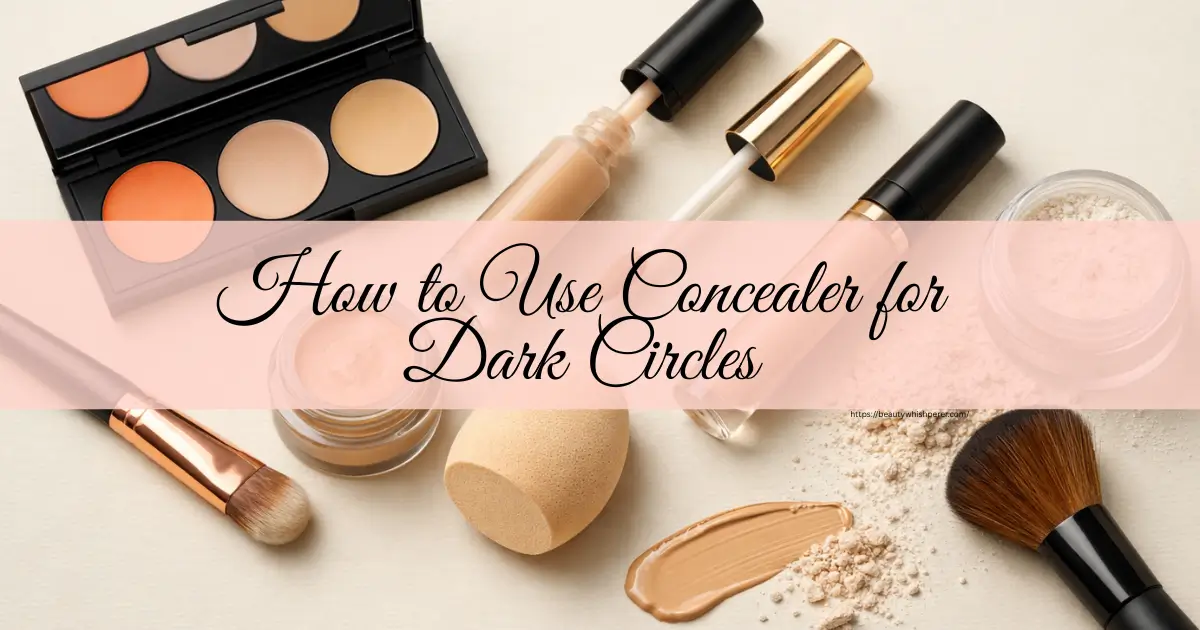
Dark circles can make even the most well-rested face look tired. Whether they come from lack of sleep, genetics, or stress, they are one of the most common beauty concerns. The good news is that learning how to use concealer for dark circles can instantly brighten your face and boost your confidence. With the right products, correct techniques, and a few expert tricks, you can achieve a smooth, natural under-eye look in minutes. This guide breaks everything down step by step, using simple language and practical advice, so anyone can master concealer like a pro.

What Causes Dark Circles Under the Eyes?
Before jumping into application techniques, it helps to understand what causes dark circles. This knowledge allows you to choose the right products and methods.
Common Causes of Dark Circles
Dark circles don’t appear for just one reason. In fact, several factors can contribute:
- Genetics: Some people naturally have thinner skin under their eyes
- Lack of sleep: Poor rest makes blood vessels more visible
- Dehydration: Dry skin looks dull and shadowy
- Aging: Skin loses collagen and becomes thinner
- Sun exposure: Increases pigmentation
- Allergies: Rubbing the eyes darkens the area
Because causes vary, one technique won’t suit everyone. That’s why personalized concealer tips for dark circles matter so much.
Why Concealer Is the Best Tool for Dark Circles
Concealer works because it targets specific areas. Unlike foundation, it provides higher pigment concentration exactly where you need it.
Benefits of Using Concealer Under Eyes
- Covers darkness without heavy makeup
- Brightens the face instantly
- Makes eyes look awake and youthful
- Enhances overall makeup finish
When applied correctly, concealer doesn’t look cakey or fake. Instead, it blends seamlessly into your skin.
Choosing the Best Concealer for Dark Circles
Before learning how to apply concealer under eyes, you must choose the right product. The wrong concealer can emphasize fine lines or turn gray.
What to Look for in a Concealer
When shopping for the best concealer for dark circles, focus on these qualities:
- Creamy texture: Avoid thick or dry formulas
- Medium to full coverage: Enough to neutralize darkness
- Hydrating ingredients: Hyaluronic acid, vitamin E
- Long-lasting formula: Prevents creasing
- Lightweight feel: Comfortable for daily wear
Choosing the Right Shade
Shade selection is critical. Follow this simple rule:
- Purple/blue dark circles: Use peach or salmon tones
- Brown pigmentation: Use yellow or warm tones
- Mild darkness: Use one shade lighter than foundation
Correct shade choice alone can improve results by 50%.
Prep Your Skin for a Flawless Finish
No matter how high-quality your concealer is, it won’t perform well on unprepared skin. Proper skin prep creates a smooth base, helps the product blend effortlessly, and ensures your concealer stays fresh for hours. Think of prepping as the foundation for your makeup—skip it, and the final result may look uneven or creased.
Step 1: Cleanse Gently
Always begin with a clean face. Use a mild, non-drying cleanser to remove dirt, excess oil, and leftover skincare or makeup. Clean skin allows concealer to sit evenly and prevents patchiness. Be especially gentle around the under-eye area, as this skin is thin and sensitive.
Step 2: Hydrate the Under-Eye Area
Next, apply a lightweight eye cream using your ring finger. Gently tap the product into the skin rather than rubbing it in. Hydration is essential because dry under-eyes can cause concealer to settle into fine lines and look cakey. After applying eye cream, wait at least 30 seconds to let it absorb properly before moving on.
Step 3: Apply Primer (Optional)
If you have oily skin, visible pores, or fine lines under the eyes, a small amount of primer can make a noticeable difference. Use only a tiny dot and lightly tap it into place. Primer helps smooth the skin’s texture and improves the staying power of your concealer throughout the day.
Although this prep routine takes just a minute or two, it plays a major role in achieving a smooth, natural, and long-lasting under-eye finish.
How to Use Concealer for Dark Circles
This section gives you the exact method professionals use.
Step 1: Use Color Corrector First (If Needed)
If your dark circles are intense, apply a thin layer of corrector before concealer.
- Use peach or salmon corrector
- Apply only where darkness is visible
- Blend gently with a finger or brush
Less is always more here.
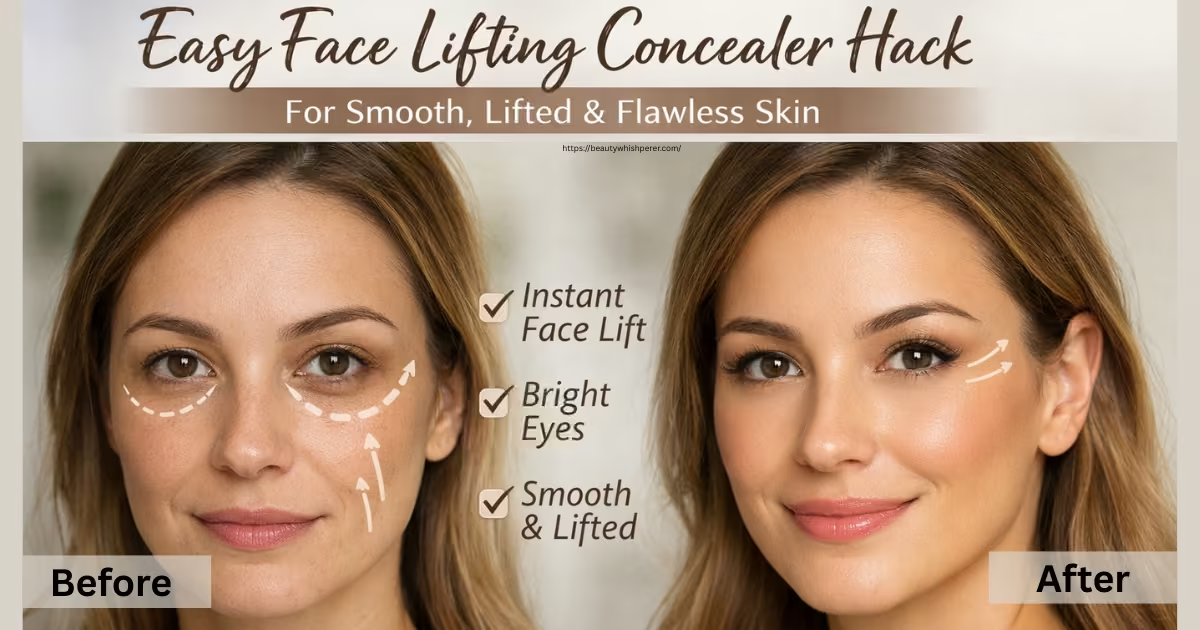
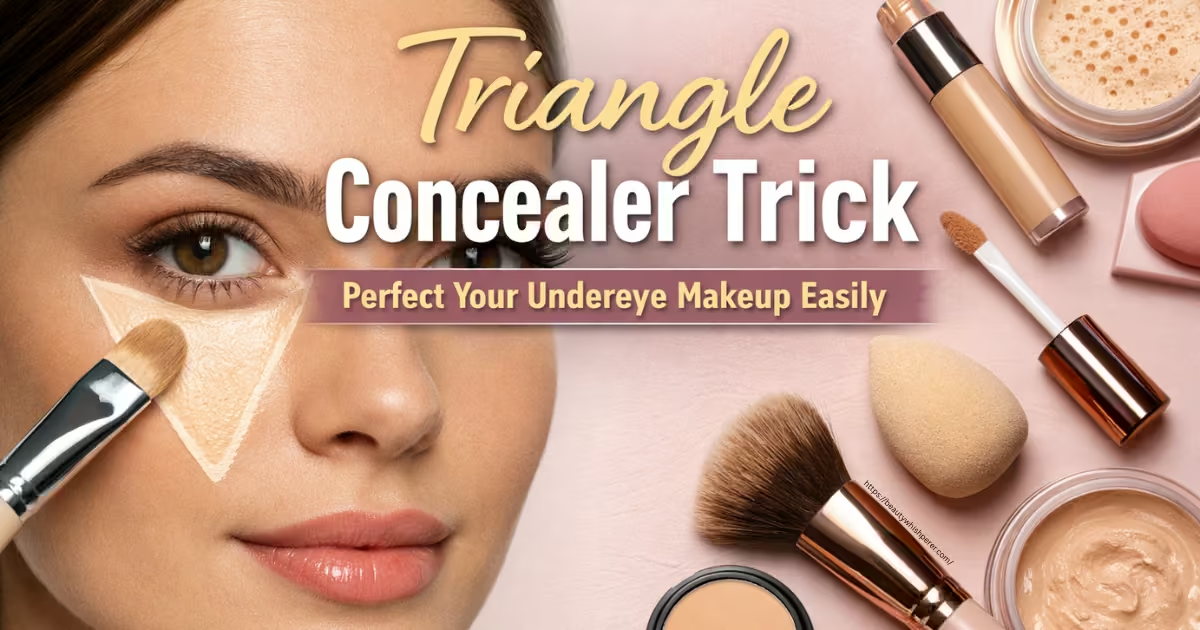
Step 2: Apply Concealer Strategically
Instead of coating the entire under-eye area, place concealer wisely.
- Use a small dot near the inner corner
- Add another dot at the outer corner
- Draw a tiny inverted triangle for lifting effect
This technique brightens without heaviness.
Step 3: Blend Gently
Blending is everything when learning how to apply concealer under eyes.
- Use a damp beauty sponge or ring finger
- Tap, never rub
- Blend outward and upward
Gentle tapping prevents product movement and creasing.
Step 4: Set Lightly
Use a minimal amount of loose powder.
- Apply with a fluffy brush
- Focus only on creasing areas
- Avoid baking under eyes
Setting locks the product while keeping it natural.
Dark Circle Concealer Tutorial for Beginners
If you’re new to makeup, follow this simple routine daily:
- Moisturize under eyes
- Apply color corrector if needed
- Use two dots of concealer
- Blend with finger or sponge
- Lightly set with powder
This dark circle concealer tutorial works for all skin types and takes less than five minutes.
Expert Concealer Tips and Common Mistakes for Dark Circles
| Category | Tip or Mistake | What to Do (Expert Advice) | Why It Matters |
|---|---|---|---|
| Expert Tip | Use Less Product | Apply concealer in thin layers and build coverage slowly. | Prevents creasing and avoids a heavy, cakey look. |
| Expert Tip | Warm Product First | Warm the concealer between your fingers before applying. | Helps the product blend smoothly into the skin. |
| Expert Tip | Blend Into Foundation | Blend the edges of concealer seamlessly into foundation. | Creates a natural, flawless under-eye finish. |
| Expert Tip | Avoid White Shades | Choose a shade close to your skin tone with the right undertone. | Prevents gray or ashy appearance, especially in photos. |
| Expert Tip | Refresh During the Day | Tap a small amount of eye cream over creased areas. | Revives concealer without adding extra layers. |
| Common Mistake | Skipping Eye Cream | Always hydrate the under-eye area before concealer. | Dry skin causes cracking and visible lines. |
| Common Mistake | Using Thick Layers | Apply light layers instead of one heavy application. | Thick layers highlight fine lines and texture. |
| Common Mistake | Rubbing Instead of Tapping | Gently tap concealer into place. | Rubbing removes coverage and irritates skin. |
| Common Mistake | Wrong Shade Selection | Match concealer to your undertone and darkness level. | Incorrect shades make dark circles more noticeable. |
How Lighting and Tools Affect Concealer Application
Lighting changes how concealer looks. Whenever possible, apply your makeup in natural daylight for the most accurate results.
Best Tools for Under-Eye Concealer
- Ring finger (most gentle)
- Damp beauty sponge
- Small fluffy concealer brush
Each tool creates a different finish. Choose what feels easiest.
Concealer for Different Skin Types
For Dry Skin
- Creamy, hydrating concealer
- Minimal powder
For Oily Skin
- Matte or semi-matte concealer
- Light setting powder
For Mature Skin
- Lightweight formula
- Avoid baking
Choosing correctly prevents cracking and creasing.
How Lifestyle Improves Concealer Results
Makeup works best with healthy habits.
- Sleep 7–8 hours
- Drink enough water
- Reduce salt intake
- Use sunscreen daily
Good habits reduce reliance on heavy concealer over time.
Day vs Night Concealer Application
Daytime Look
- Light coverage
- Minimal powder
- Natural finish
Evening Look
- Slightly higher coverage
- Better setting
- Brightening effect
Adjust technique based on occasion.
Conclusion: Mastering Under-Eye Concealer
Learning how to use concealer for dark circles is a skill that transforms your entire appearance. With the right shade, gentle blending, and proper prep, concealer becomes your best beauty tool. You don’t need heavy makeup or expensive products—just correct techniques and a little practice. When applied well, concealer enhances your natural beauty rather than hiding it.
Now it’s your turn to practice. Try these steps tomorrow morning and notice the difference. If this guide helped you, share it with someone who struggles with dark circles, and explore more beauty tips to refine your everyday routine. Confidence begins with small steps—and flawless under-eyes are a great place to start.
FAQ Related to:
How do I use concealer for dark circles without looking cakey?
The key is to use less product and more blending. Start with a well-hydrated under-eye area, then apply concealer in small dots only where darkness is visible. Gently tap it in using your ring finger or a damp sponge. Apply thin layers and use just a light touch of powder when necessary. This approach keeps the finish smooth and natural.
What is the best concealer for dark circles and under-eye pigmentation?
The best concealer for dark circles is one with a creamy, hydrating formula and medium to full coverage. Look for concealers that contain skincare ingredients like hyaluronic acid or vitamin E. Choosing the right undertone is just as important—peach or salmon shades work well for bluish darkness, while yellow tones help with brown pigmentation.
Should I use color corrector before concealer for dark circles?
Yes, if your dark circles are deep or very noticeable. A color corrector helps neutralize darkness so you don’t need to apply heavy layers of concealer. Use a small amount of peach or salmon corrector, blend it well, and then apply concealer on top. If your dark circles are mild, you can skip this step.
How can I apply concealer under eyes to prevent creasing?
Always prep your skin with eye cream and let it absorb fully before applying concealer. Use minimal product and blend by tapping, not rubbing. After blending, wait a few seconds and then lightly set only the creased areas with a soft brush and a tiny amount of powder. This method helps keep concealer smooth throughout the day.
Why does my under-eye concealer turn gray after application?
This usually happens when the concealer is too light or has the wrong undertone. Applying concealer directly over dark circles without correcting them can also cause a gray or ashy look. Using a peach corrector first and choosing a concealer closer to your natural skin tone will fix this issue.
What are the most common mistakes to avoid when covering dark circles?
Common mistakes include skipping eye cream, using too much product, choosing the wrong shade, and rubbing instead of tapping during application. These errors can make dark circles more noticeable rather than hiding them. Using the right technique and products makes a huge difference in achieving a natural, flawless finish.